Introduction
The FPV (First-Person View) system is one of the most critical components of an FPV drone. Traditionally, analog systems were used, but with advancements in technology, digital FPV systems have gained popularity due to their superior image quality and lower latency. This guide explores the digital FPV system, its components, and how to set up digital goggles for an immersive flying experience.
What is a Digital FPV System?
A digital FPV system transmits high-definition video from the drone’s camera to the pilot’s goggles in real time. Unlike analog systems, which have lower resolution and suffer from interference, digital FPV provides crystal-clear visuals with minimal delay.

Components of a Digital FPV System
- FPV Camera: Captures video and transmits it to the video transmitter.
- Video Transmitter (VTX): Converts and sends video signals wirelessly to the receiver.
- Receiver Module: Located inside the digital FPV goggles, it receives the video signal from the transmitter.
- Digital FPV Goggles: Displays the received video feed in high resolution.
- Antenna System: Enhances the transmission range and video clarity.
- Flight Controller (FC) Integration: Ensures smooth communication between the video system and other drone components.
Popular Digital FPV Systems
- DJI Digital FPV System: One of the most widely used systems, offering 720p at 120fps video feed.
- Walksnail Avatar HD: Known for compact size and HD resolution.
- HDZero: An open-source digital FPV system with ultra-low latency.
Digital FPV Goggles
Digital goggles are essential for receiving and displaying the high-definition video feed. Some of the popular digital FPV goggles include:
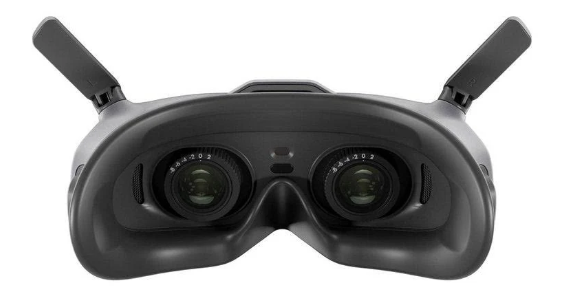
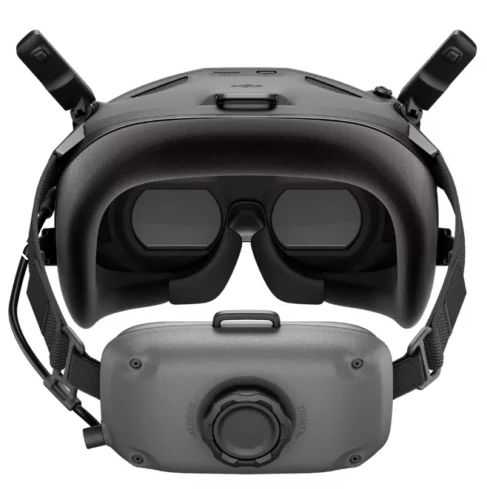
- DJI Goggles 2 / DJI FPV Goggles V2
- Fat Shark Dominator HD
- Walksnail Avatar HD Goggles
- HDZero Goggles
DJI GOGGLE 2
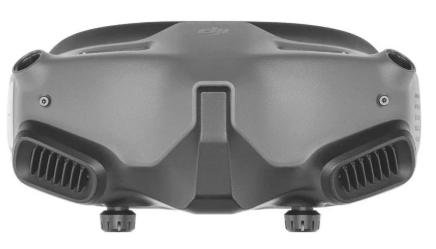
DJI Goggles N3
Setting Up a Digital FPV System
- Connect the FPV Camera to the Digital VTX:
- Use the provided wiring harness to connect power and signal lines.
- Power the Digital VTX:
- Ensure a stable power source from the drone’s battery (commonly 6S or 4S setups).
- Attach the Antennas:
- Use LHCP antennas for DJI and Walksnail systems.
- Pair the VTX with Digital Goggles:
- Follow the manufacturer’s instructions for binding the transmitter and receiver.
- Test the Video Feed:
- Power on the drone and goggles to check for clear video transmission.
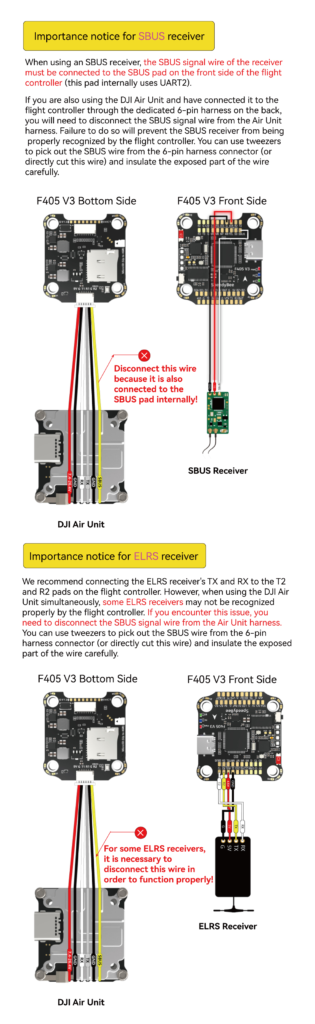
Circuit Diagram
Below is a simplified circuit diagram showing how the digital FPV system connects to the flight controller.

Advantages of Digital FPV Over Analog
| Feature | Digital FPV | Analog FPV |
|---|---|---|
| Resolution | HD (720p/1080p) | SD (480p or lower) |
| Latency | ~28ms (DJI) | ~10-20ms |
| Interference | Less | More (signal noise) |
| Range | Moderate to Long | Longer but lower quality |
Conclusion
A digital FPV system significantly enhances the flying experience by providing high-resolution video with minimal latency. Whether you’re racing, freestyle flying, or capturing cinematic shots, upgrading to a digital FPV setup ensures a more immersive and enjoyable experience.
Stay tuned for more FPV drone-related guides!


GIPHY App Key not set. Please check settings